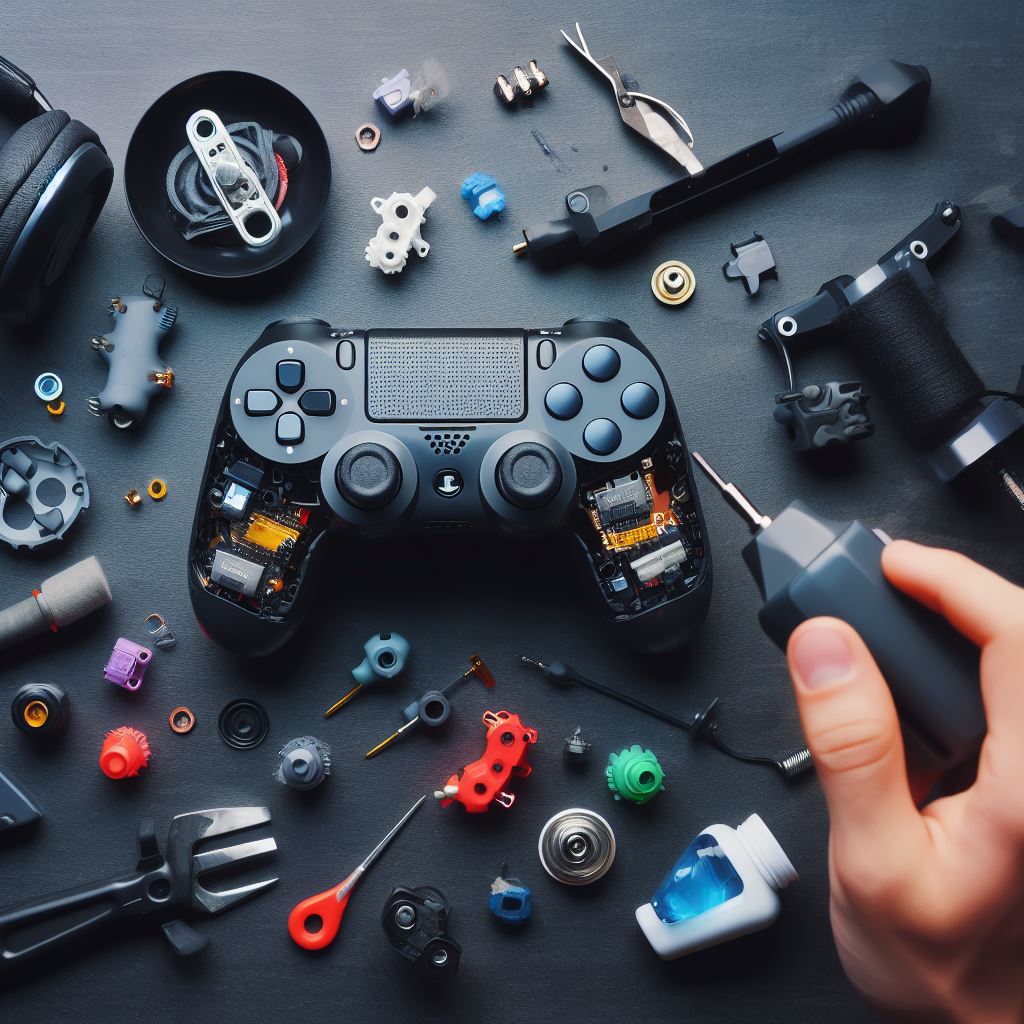
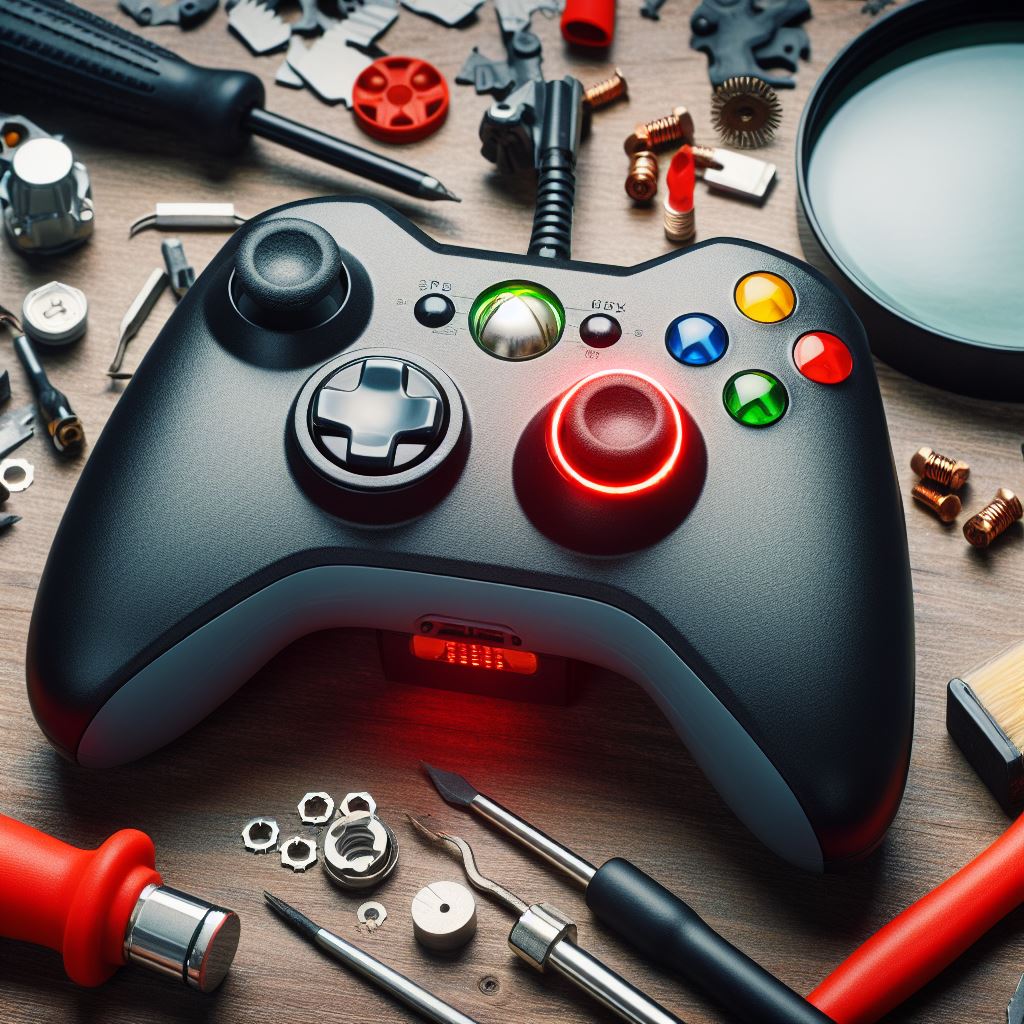
Custom gaming controllers are a beloved accessory for many gamers, offering a personalized and enhanced gaming experience. Whether you've invested in a customized design, additional buttons, or unique features, it's essential to take proper care of your controller to ensure its longevity and optimal performance. In this comprehensive guide, we'll delve into the importance of regular maintenance, provide step-by-step cleaning guides for different types of controllers, troubleshoot common issues, and offer recommendations for enthusiasts who own custom gaming controllers. By following these tips, you can keep your gaming peripherals in top condition and maximize your gaming experience.
The Importance of Regular Maintenance
1. Prolonged Lifespan:
Regular maintenance is the key to a prolonged lifespan for your custom gaming controller. Like any electronic device, controllers are susceptible to wear and tear, and timely care can significantly extend their usability.
2. Optimal Performance:
A well-maintained controller ensures optimal performance during intense gaming sessions. Dust, dirt, and grime can hinder button responsiveness and joystick movement, negatively impacting your gaming experience.
3. Preserving Aesthetics:
If you've invested in a custom design, keeping your controller clean preserves its aesthetic appeal. Stains and dirt can mar the appearance of your controller, detracting from the visual experience you intended.
Step-by-Step Cleaning Guides
Cleaning a Standard Controller:
Materials Needed:
- Microfiber cloth
- Isopropyl alcohol
- Cotton swabs
- Compressed air
Steps:
- Power Off the Controller:
Ensure the controller is turned off and disconnected from the gaming console or PC.
- Remove Batteries (if applicable):
If your controller uses batteries, remove them to prevent any electrical mishaps during cleaning.
- Dry Dusting:
Use a microfiber cloth to gently remove dry dust and debris from the surface of the controller.
- Cleaning Buttons and Joysticks:
Dampen a cotton swab with isopropyl alcohol and clean around the buttons and joysticks. Be cautious not to let any liquid seep into the internal components.
- Compressed Air for Crevices:
Use compressed air to blow out any dust or particles from the crevices of the controller, such as around buttons and analog sticks.
- Final Wipe Down:
Give the controller a final wipe down with a dry microfiber cloth to ensure all surfaces are clean and dry.
Cleaning a Custom Controller with Additional Features:
Additional Materials:
- Soft brush
- Toothpick or plastic pick
- Mild soap solution
Steps:
Follow Steps 1-3 from the Standard Controller Cleaning Guide.
- Brush Away Debris:
Use a soft brush to gently remove any debris around customized features such as additional buttons or paddles.
- Carefully Clean Custom Features:
Dampen a cotton swab with isopropyl alcohol and clean around the customized features. Use a toothpick or plastic pick for hard-to-reach areas.
- Mild Soap Solution for Grip:
If your custom controller has textured grips, use a mild soap solution and a soft brush to clean and refresh the grip surface.
- Thorough Drying:
Ensure all cleaned areas are thoroughly dry before reassembling the controller.
Troubleshooting Common Issues
- Unresponsive Buttons:
If buttons become unresponsive, check for debris around the button edges. Clean the area with isopropyl alcohol using a cotton swab.
- Stick Drift:
Stick drift is a common issue. Calibrate your controller through the console settings, and if the problem persists, consider cleaning around the analog sticks with compressed air.
- Connectivity Problems:
Ensure that the controller's firmware is up to date. If connectivity issues persist, inspect the USB or charging cable for damage and replace if necessary.
- Sticky Buttons:
For sticky buttons, carefully remove the button and clean both the button and the contact beneath with isopropyl alcohol. Ensure proper drying before reassembly.
Recommendations for Enthusiasts with Custom Controllers
- Invest in Controller Cases:
Protect your custom controller from dust and physical damage by investing in a quality controller case. This is especially important if you transport your controller frequently.
- Use Button Covers:
Consider using button covers to protect your customized buttons from wear. These covers can be easily replaced, preventing the need for extensive button replacements.
- Regularly Update Firmware:
Stay informed about firmware updates for your controller. These updates often include improvements in performance and can address certain issues.
- Scheduled Maintenance:
Make controller maintenance a part of your gaming routine. Schedule a thorough cleaning every few weeks, especially if you are an avid gamer.
- Professional Cleaning Services:
For intricate custom controllers, consider professional cleaning services. Some companies specialize in maintaining and cleaning custom gaming peripherals, ensuring a thorough and safe cleaning process.
Conclusion
Taking care of your custom gaming controller is a small investment of time that pays off in prolonged lifespan, optimal performance, and an aesthetically pleasing gaming experience. By following the step-by-step cleaning guides, troubleshooting common issues, and adopting recommended practices for enthusiasts, you can ensure that your custom controller remains a reliable companion through countless gaming adventures. Remember, a well-maintained controller not only enhances your gaming sessions but also reflects the pride and dedication you have for your gaming setup.


Leave a comment
This site is protected by hCaptcha and the hCaptcha Privacy Policy and Terms of Service apply.