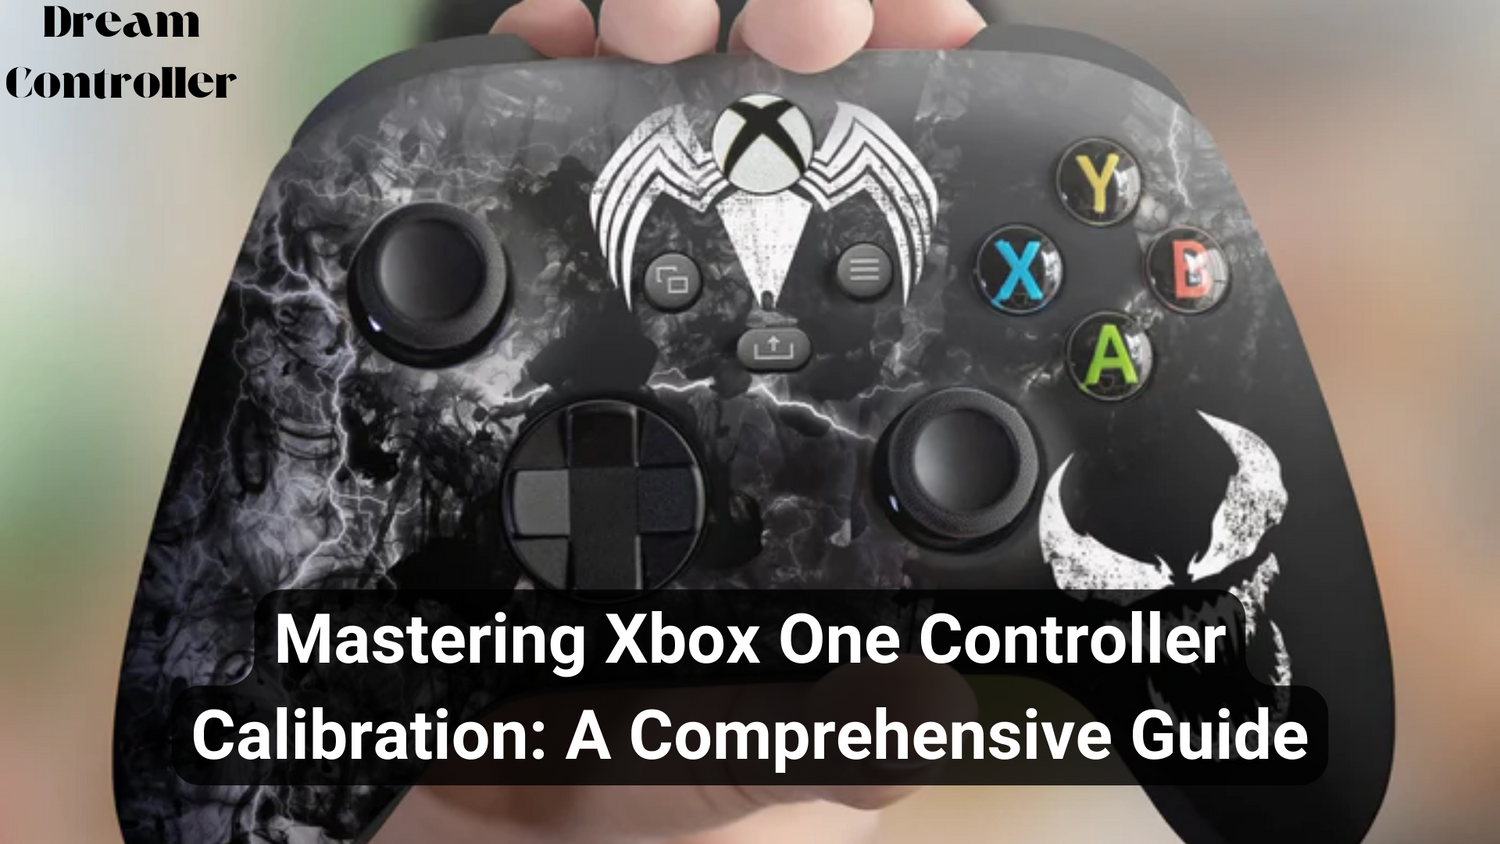
In the realm of gaming, precision and responsiveness are paramount, and the Xbox One controller stands as a key instrument in achieving optimal gameplay. Calibrating your Xbox One controller might seem like a trivial task, but unlocking its full potential requires meticulous adjustments. In this guide, we'll delve into the intricacies of calibrating your Xbox One controller for an unparalleled gaming experience.
Understanding Xbox One Controller Calibration
Why Calibrate Your Xbox One Controller?
Calibrating your Xbox One controller is essential to ensure seamless interaction between the device and your console. It fine-tunes sensitivity, dead zones, and button responsiveness, enhancing your ability to navigate virtual worlds effortlessly.
The Importance of Precision
In the gaming universe, precision is everything. A well-calibrated controller can be the difference between landing the perfect headshot and falling victim to in-game adversaries. Achieving precision requires a meticulous calibration process that optimizes the controller's input recognition.
Step-by-Step Calibration Guide
1. Accessing the Settings Menu
Navigate to the settings menu on your Xbox One console. This can be accomplished by pressing the Xbox button on your controller and selecting "Settings."
2. Selecting Devices and Accessories
Under the settings menu, locate the "Devices and Accessories" option. This is where you'll find the necessary tools for calibrating your Xbox One controller.
3. Choosing the Controller
Identify your controller from the list of connected devices. Once selected, click on "Calibrate" to initiate the calibration process.
4. Calibrating Thumbsticks
Follow the on-screen prompts to calibrate each thumbstick. This involves moving them through their full range of motion to ensure precise input recognition.
5. Adjusting Triggers
Calibrate triggers by pressing them to their maximum and minimum positions. This step optimizes the controller's ability to register variations in trigger pressure.
6. Testing Buttons
Verify the functionality of each button by pressing them as prompted. This ensures that every button on your Xbox One controller responds accurately during gameplay.
Troubleshooting Common Calibration Issues
1. Dead Zones
Dead zones can hinder precision. If you notice unresponsiveness in certain areas of your controller, revisit the calibration process and pay special attention to thumbstick calibration.
2. Connectivity Issues
Ensure your controller is properly connected to the console. If issues persist, try using a different USB cable or updating your controller's firmware.
3. Software Updates
Regularly check for software updates for both your Xbox One console and controller. Keeping your firmware up-to-date can resolve compatibility issues.
Elevate Your Gaming Experience
By mastering the art of Xbox One controller calibration, you elevate your gaming experience to new heights. The precision and responsiveness achieved through meticulous calibration empower you to dominate virtual worlds with unparalleled finesse. Remember, calibration is not a one-time task but an ongoing process to adapt to evolving gaming needs.


Leave a comment
This site is protected by hCaptcha and the hCaptcha Privacy Policy and Terms of Service apply.